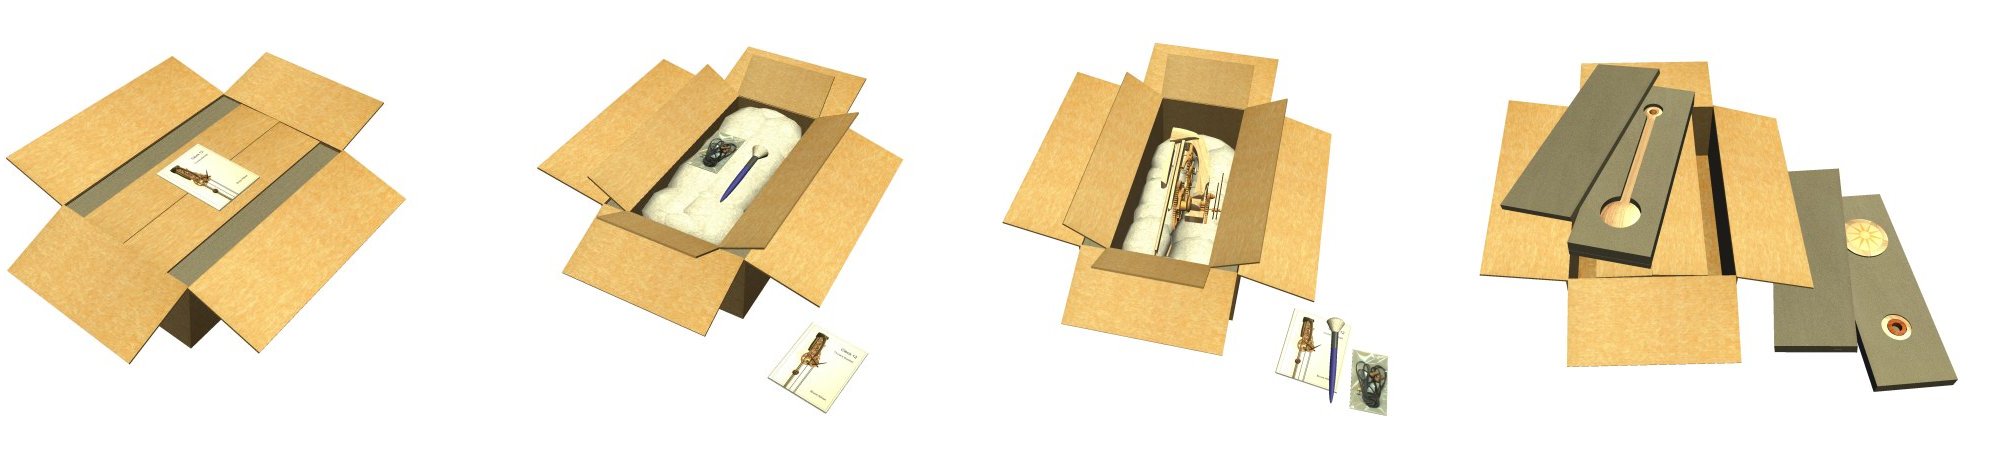
A new clock comes in its purpose made wooden crate, complete with an comprehensive instruction booklet and a selection of mounting hardware to suit most walls.
A screwdriver is needed to open the crate; four screws secure the lid. Four more screws are removed so the crate sides can fold flat allowing easy access to all clock parts.
Once the mounting hole is drilled in the wall clock assembly is a straightforward process that takes less than 10 minutes, the instruction booklet details each step.
Series 10 Instruction Manual (pdf)
Series 12 Instruction Manual (pdf)
(note: the Series 11 manual is not currently online)
The assembly process for Series 11 and Series 12 clocks is broadly similar - A shaped wooden peg is fixed to the wall at around eye level, the clock movement (the main assembly of wheels within the frame) is hung from the peg where it locks into place. The lower half of the pendulum is connected, the weight cord is threaded through the clock and, after a few checks, the weights are hung. The clock is now started and a simple adjustment made to ensure the clock is hanging vertically and running true. Finally, the clock is wound.
Series 10 clocks require a more complex installation process involving a separate wall bracket fixed to the wall by two screws. A total of two adjustments are required for these clocks to run smoothly.
